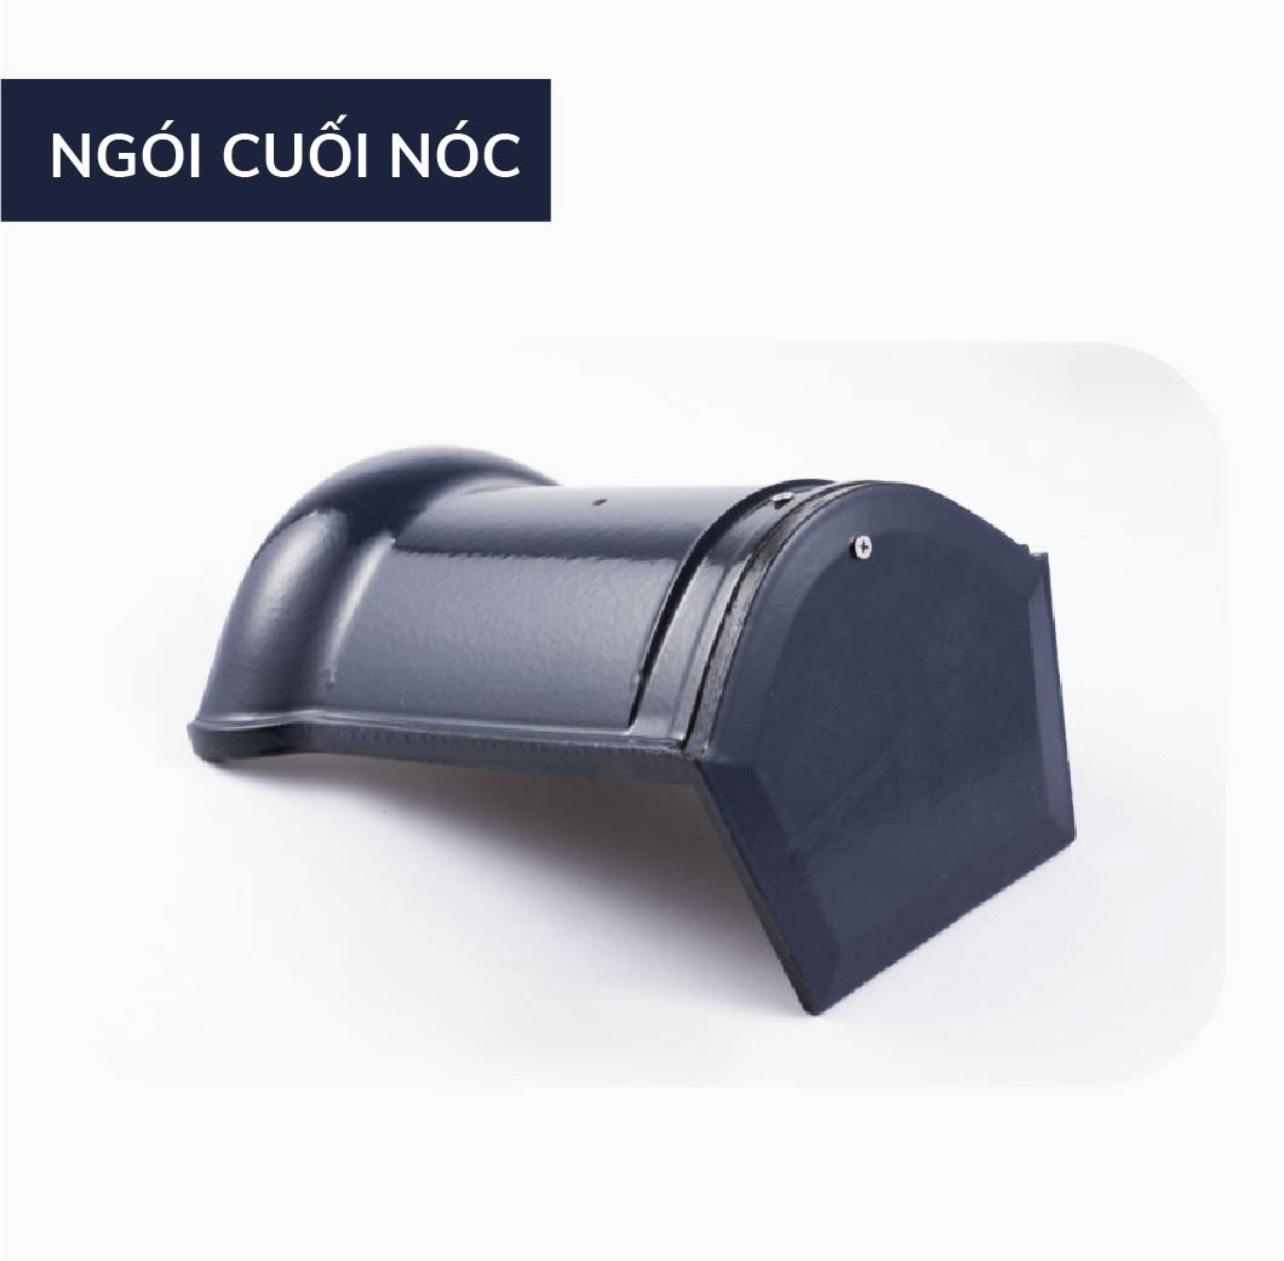


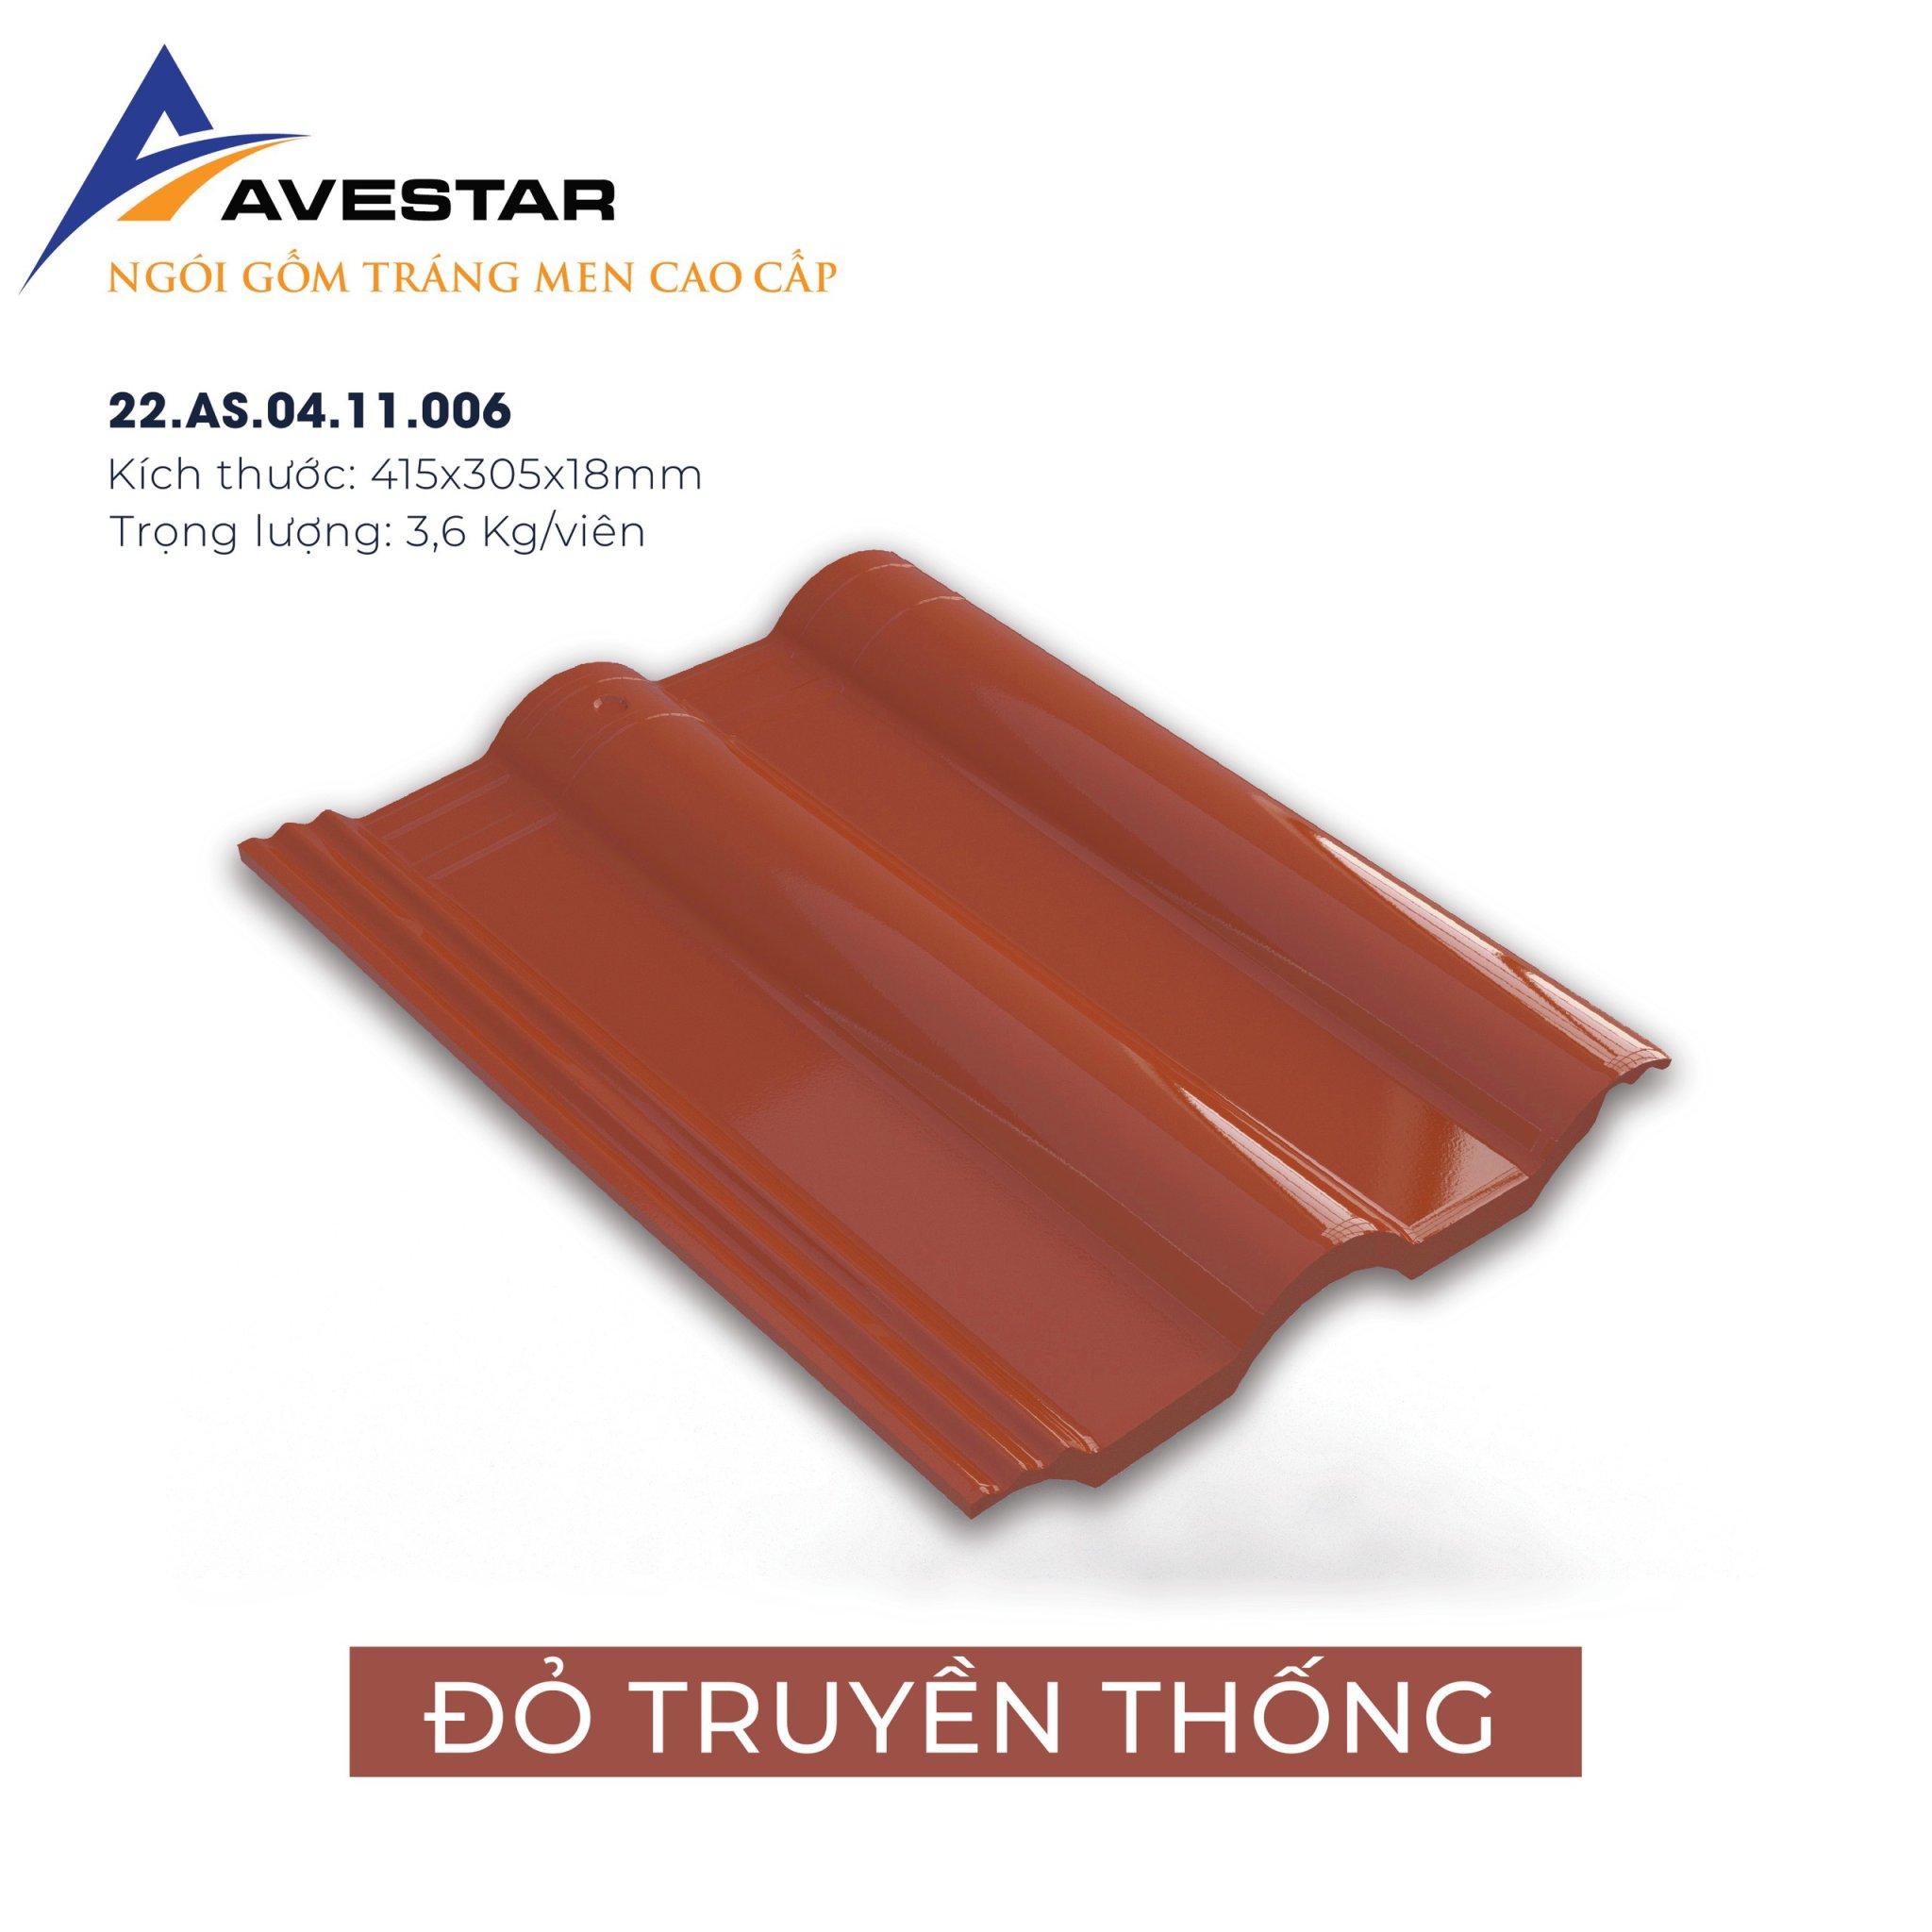
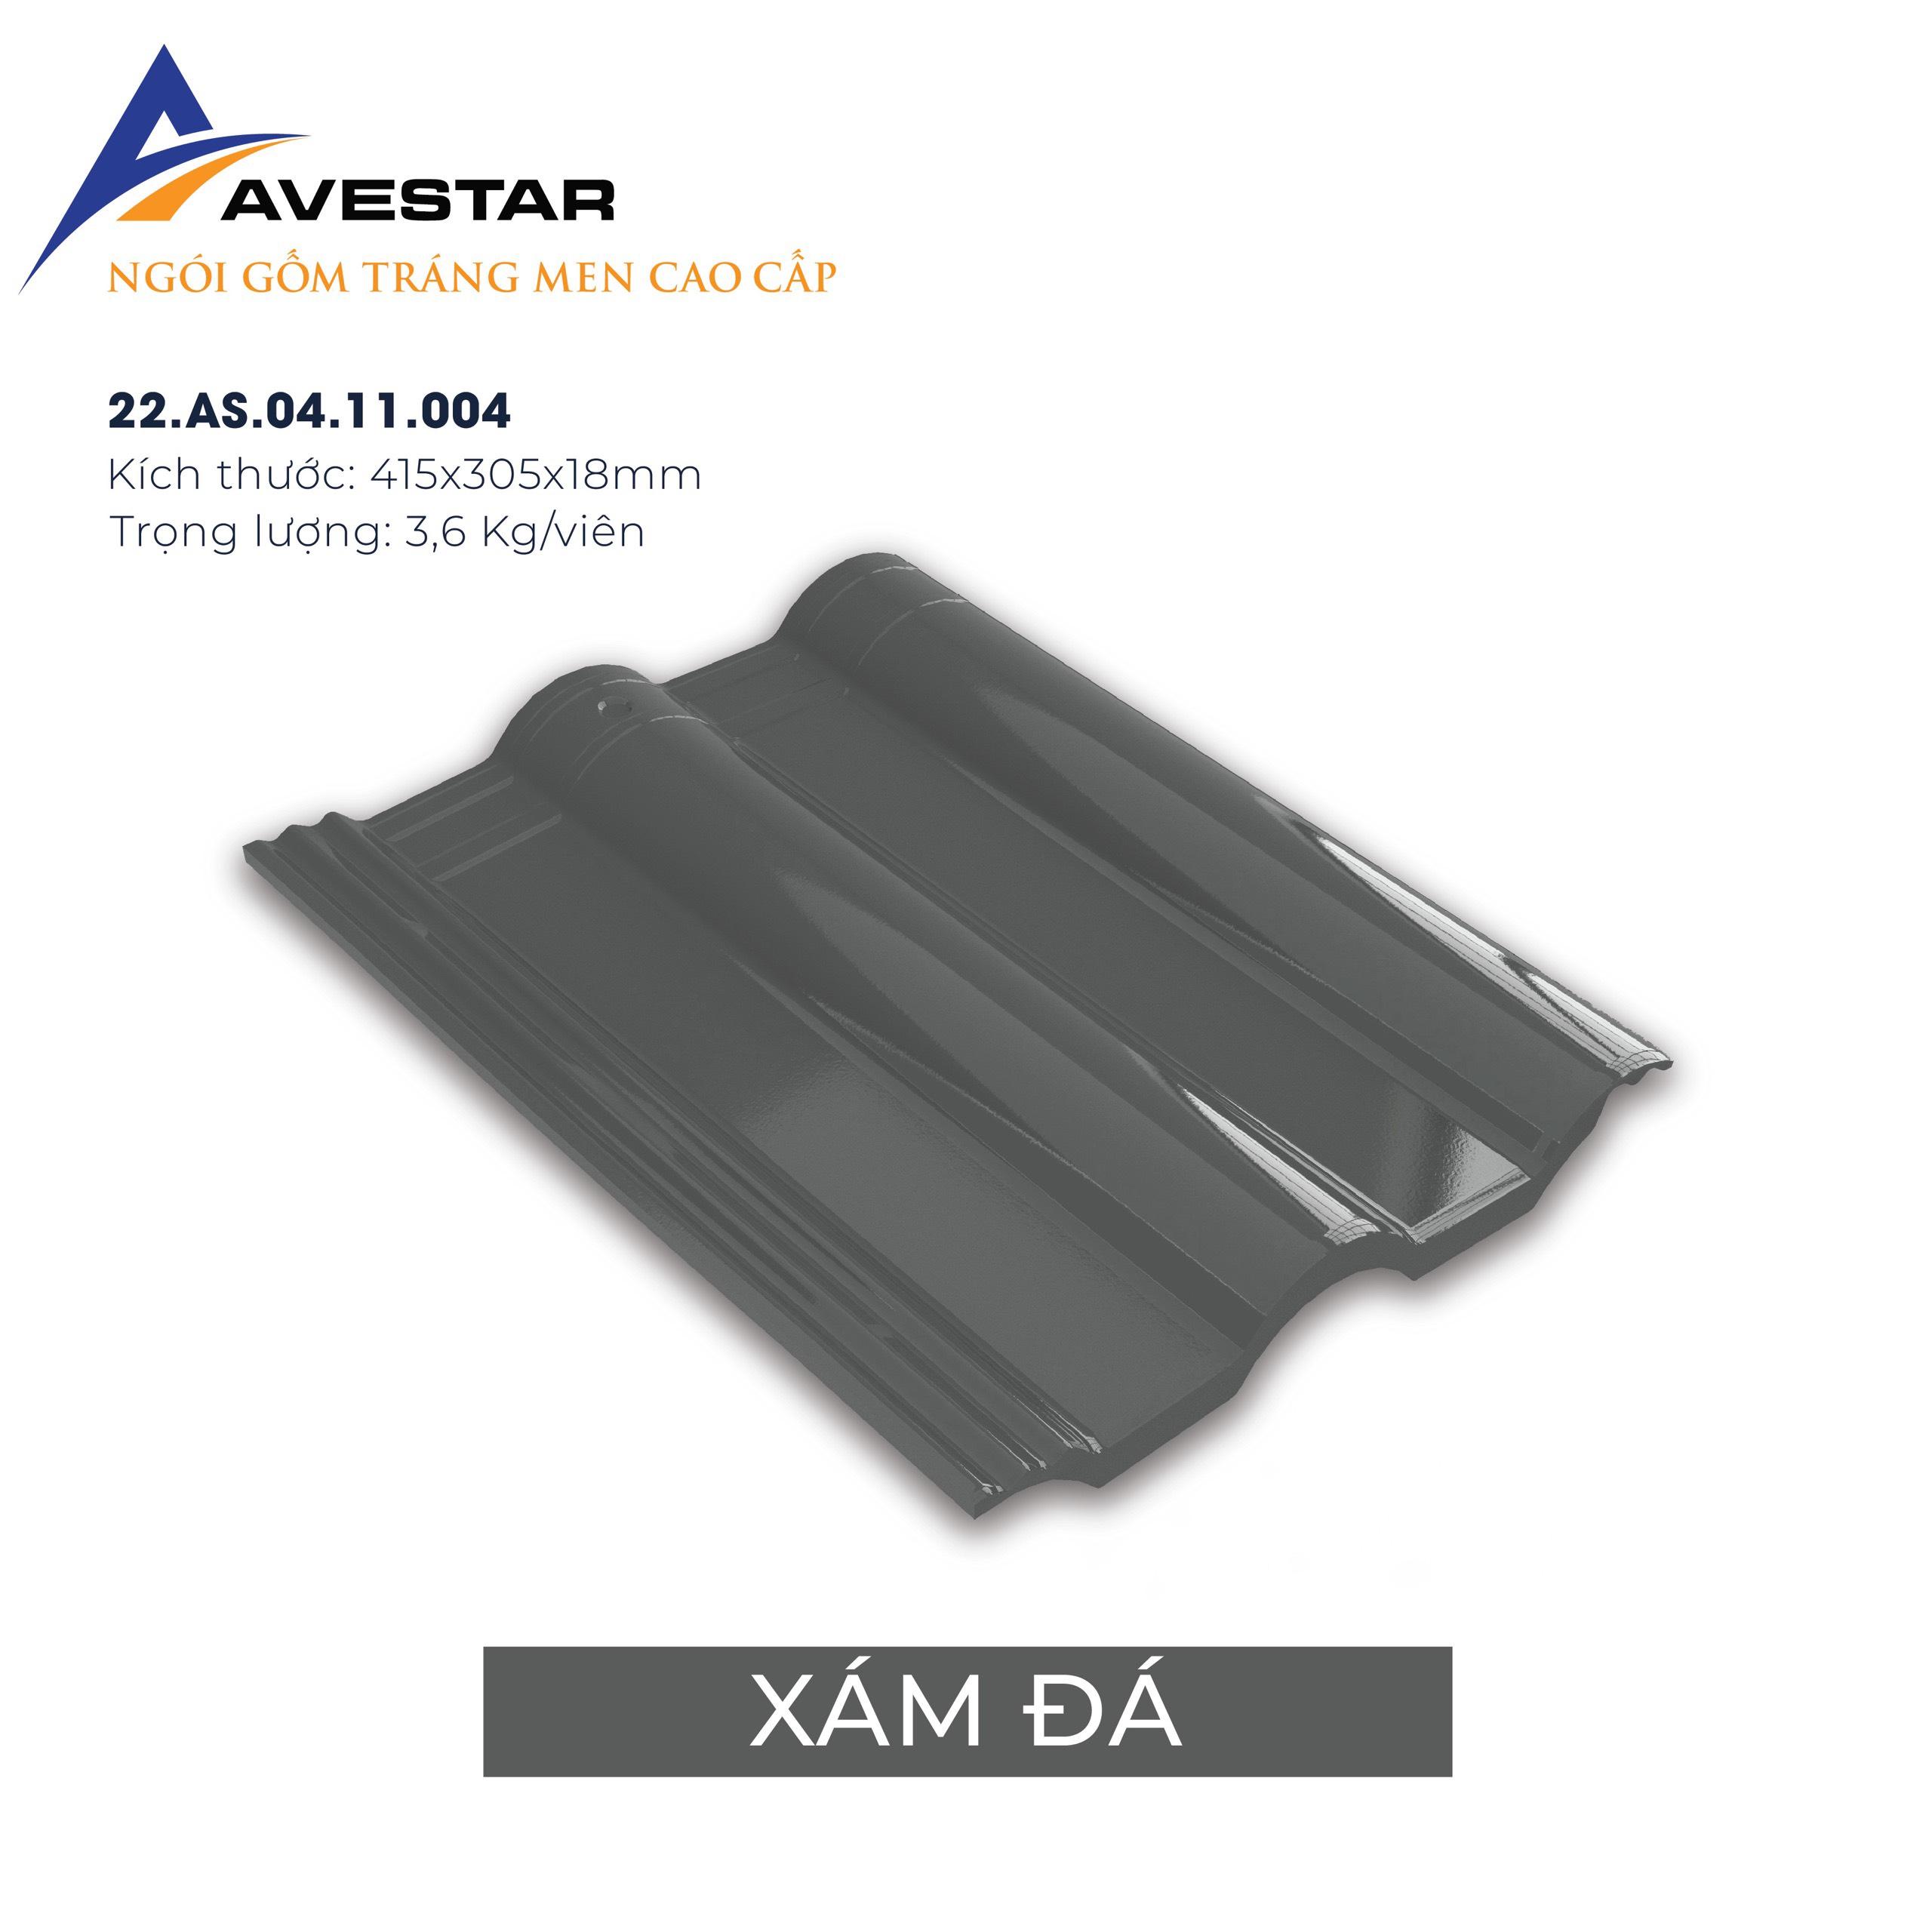
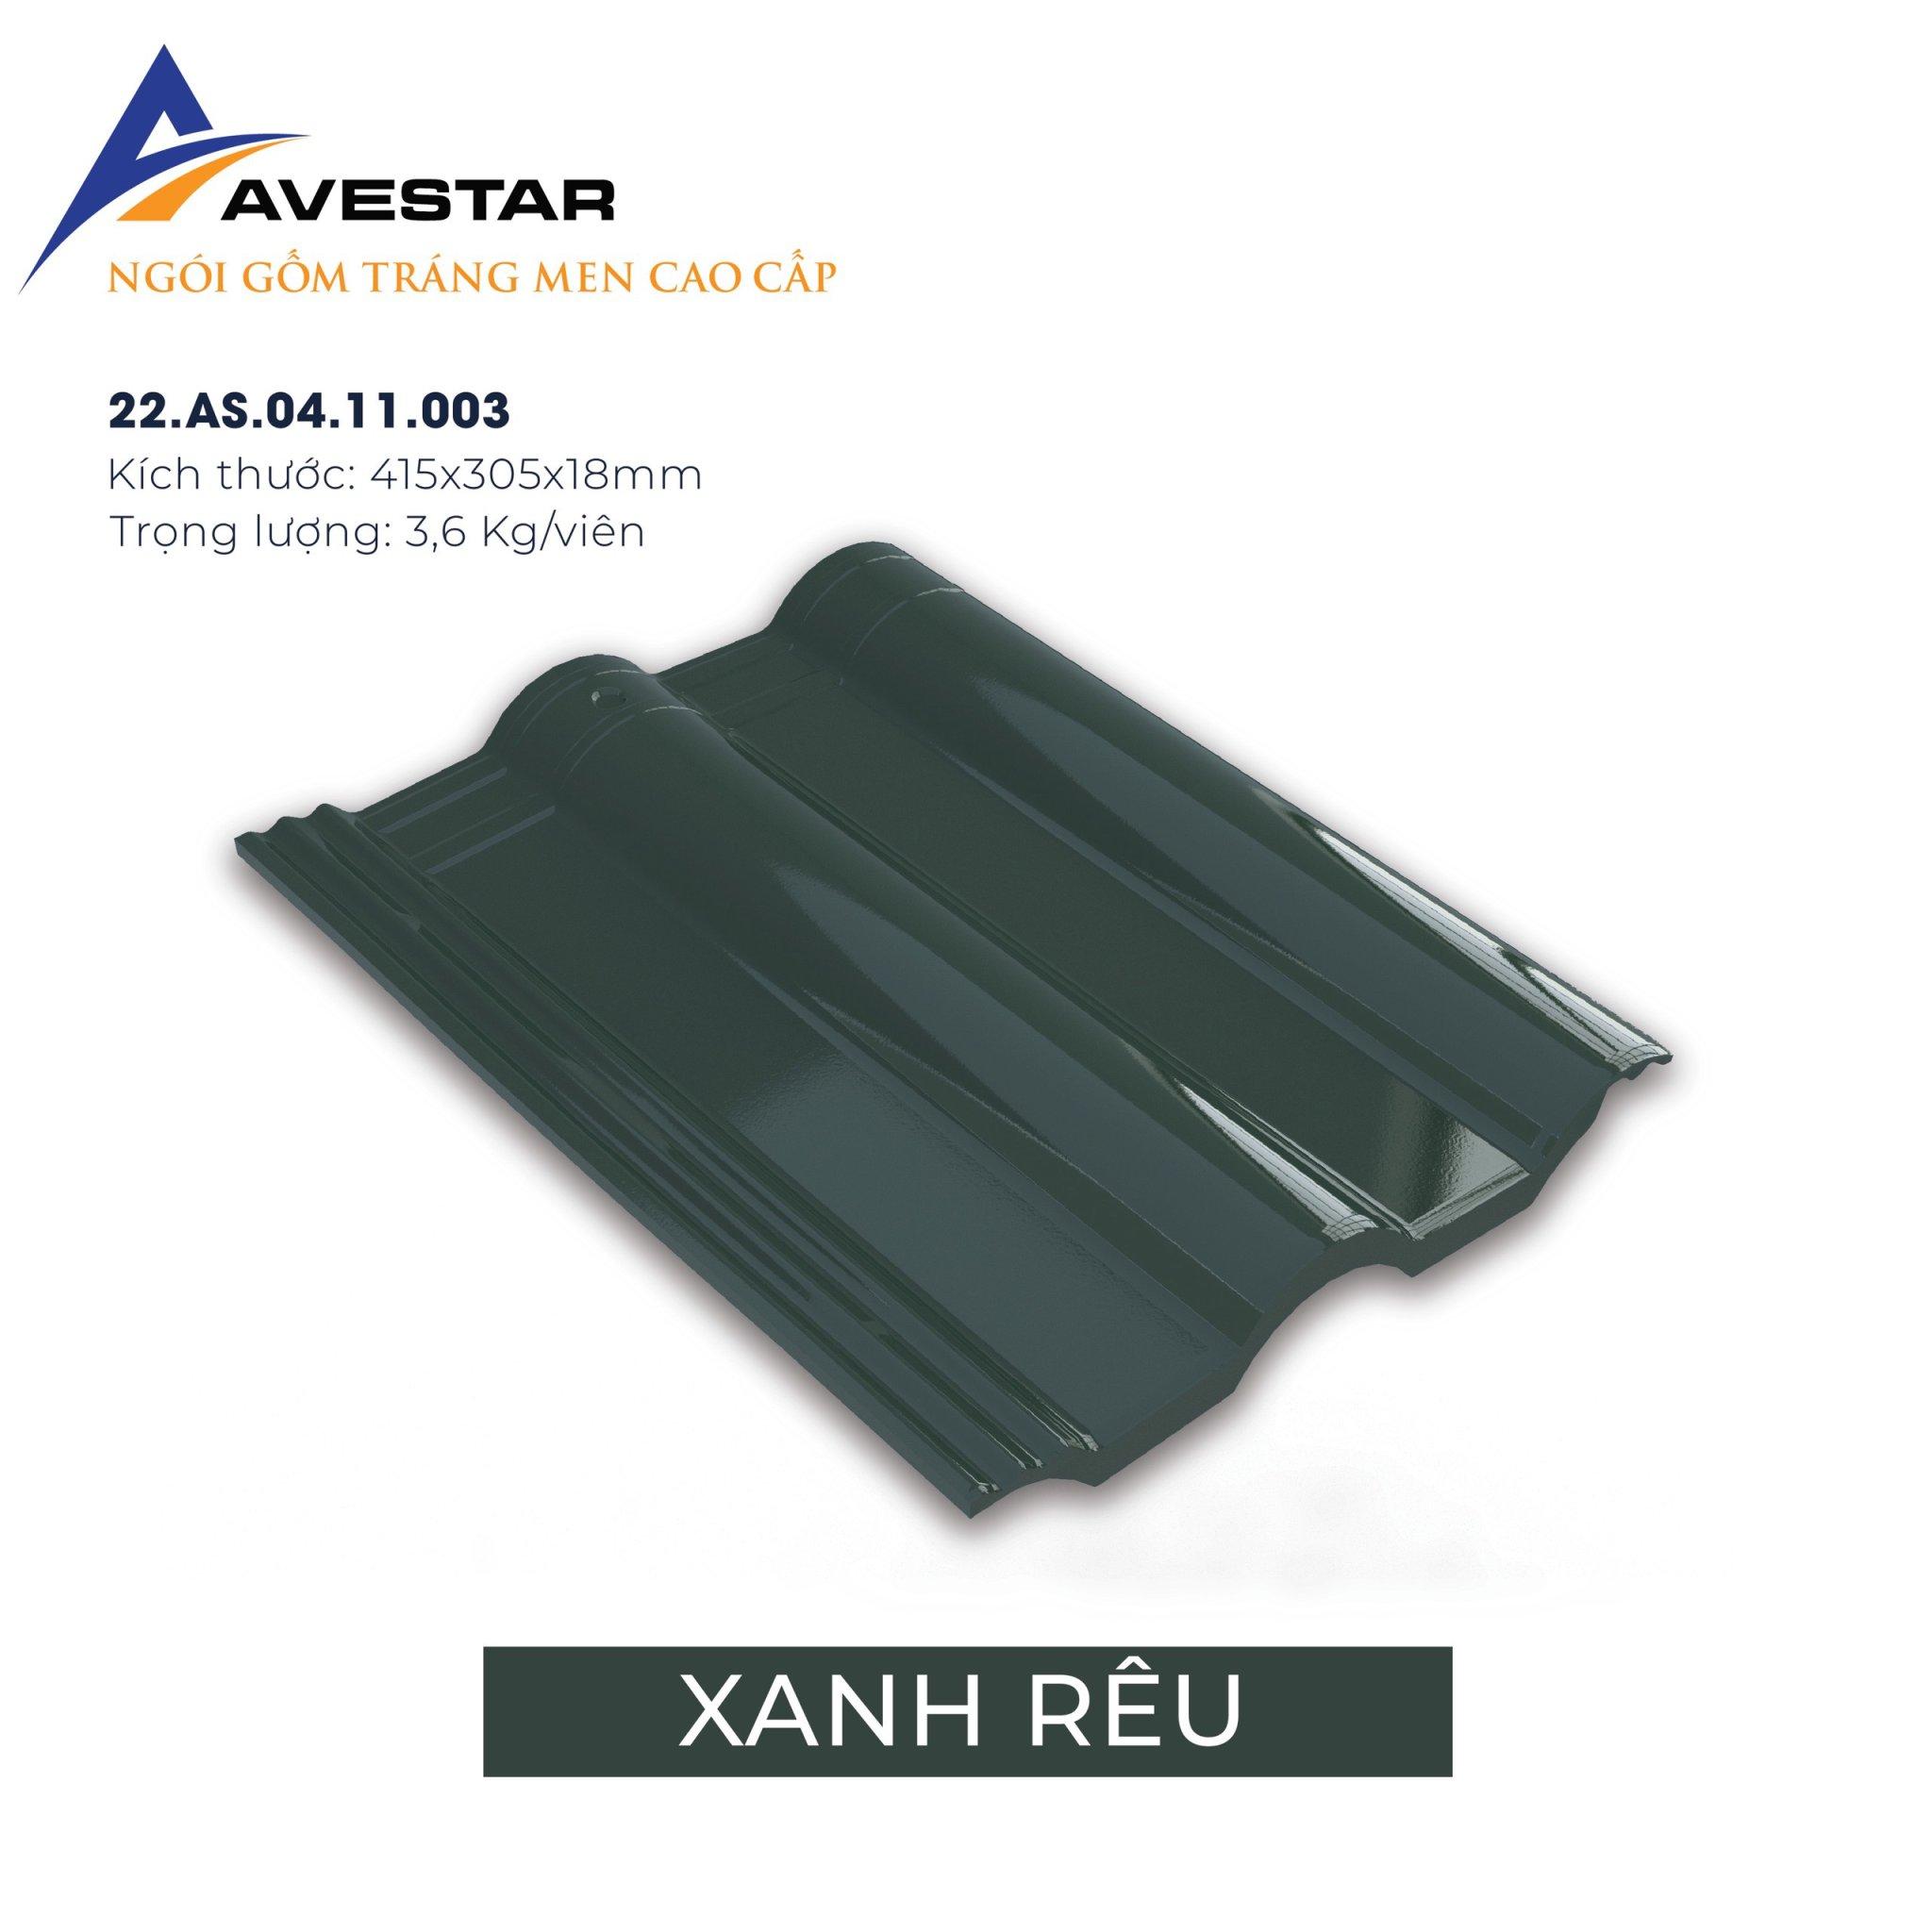
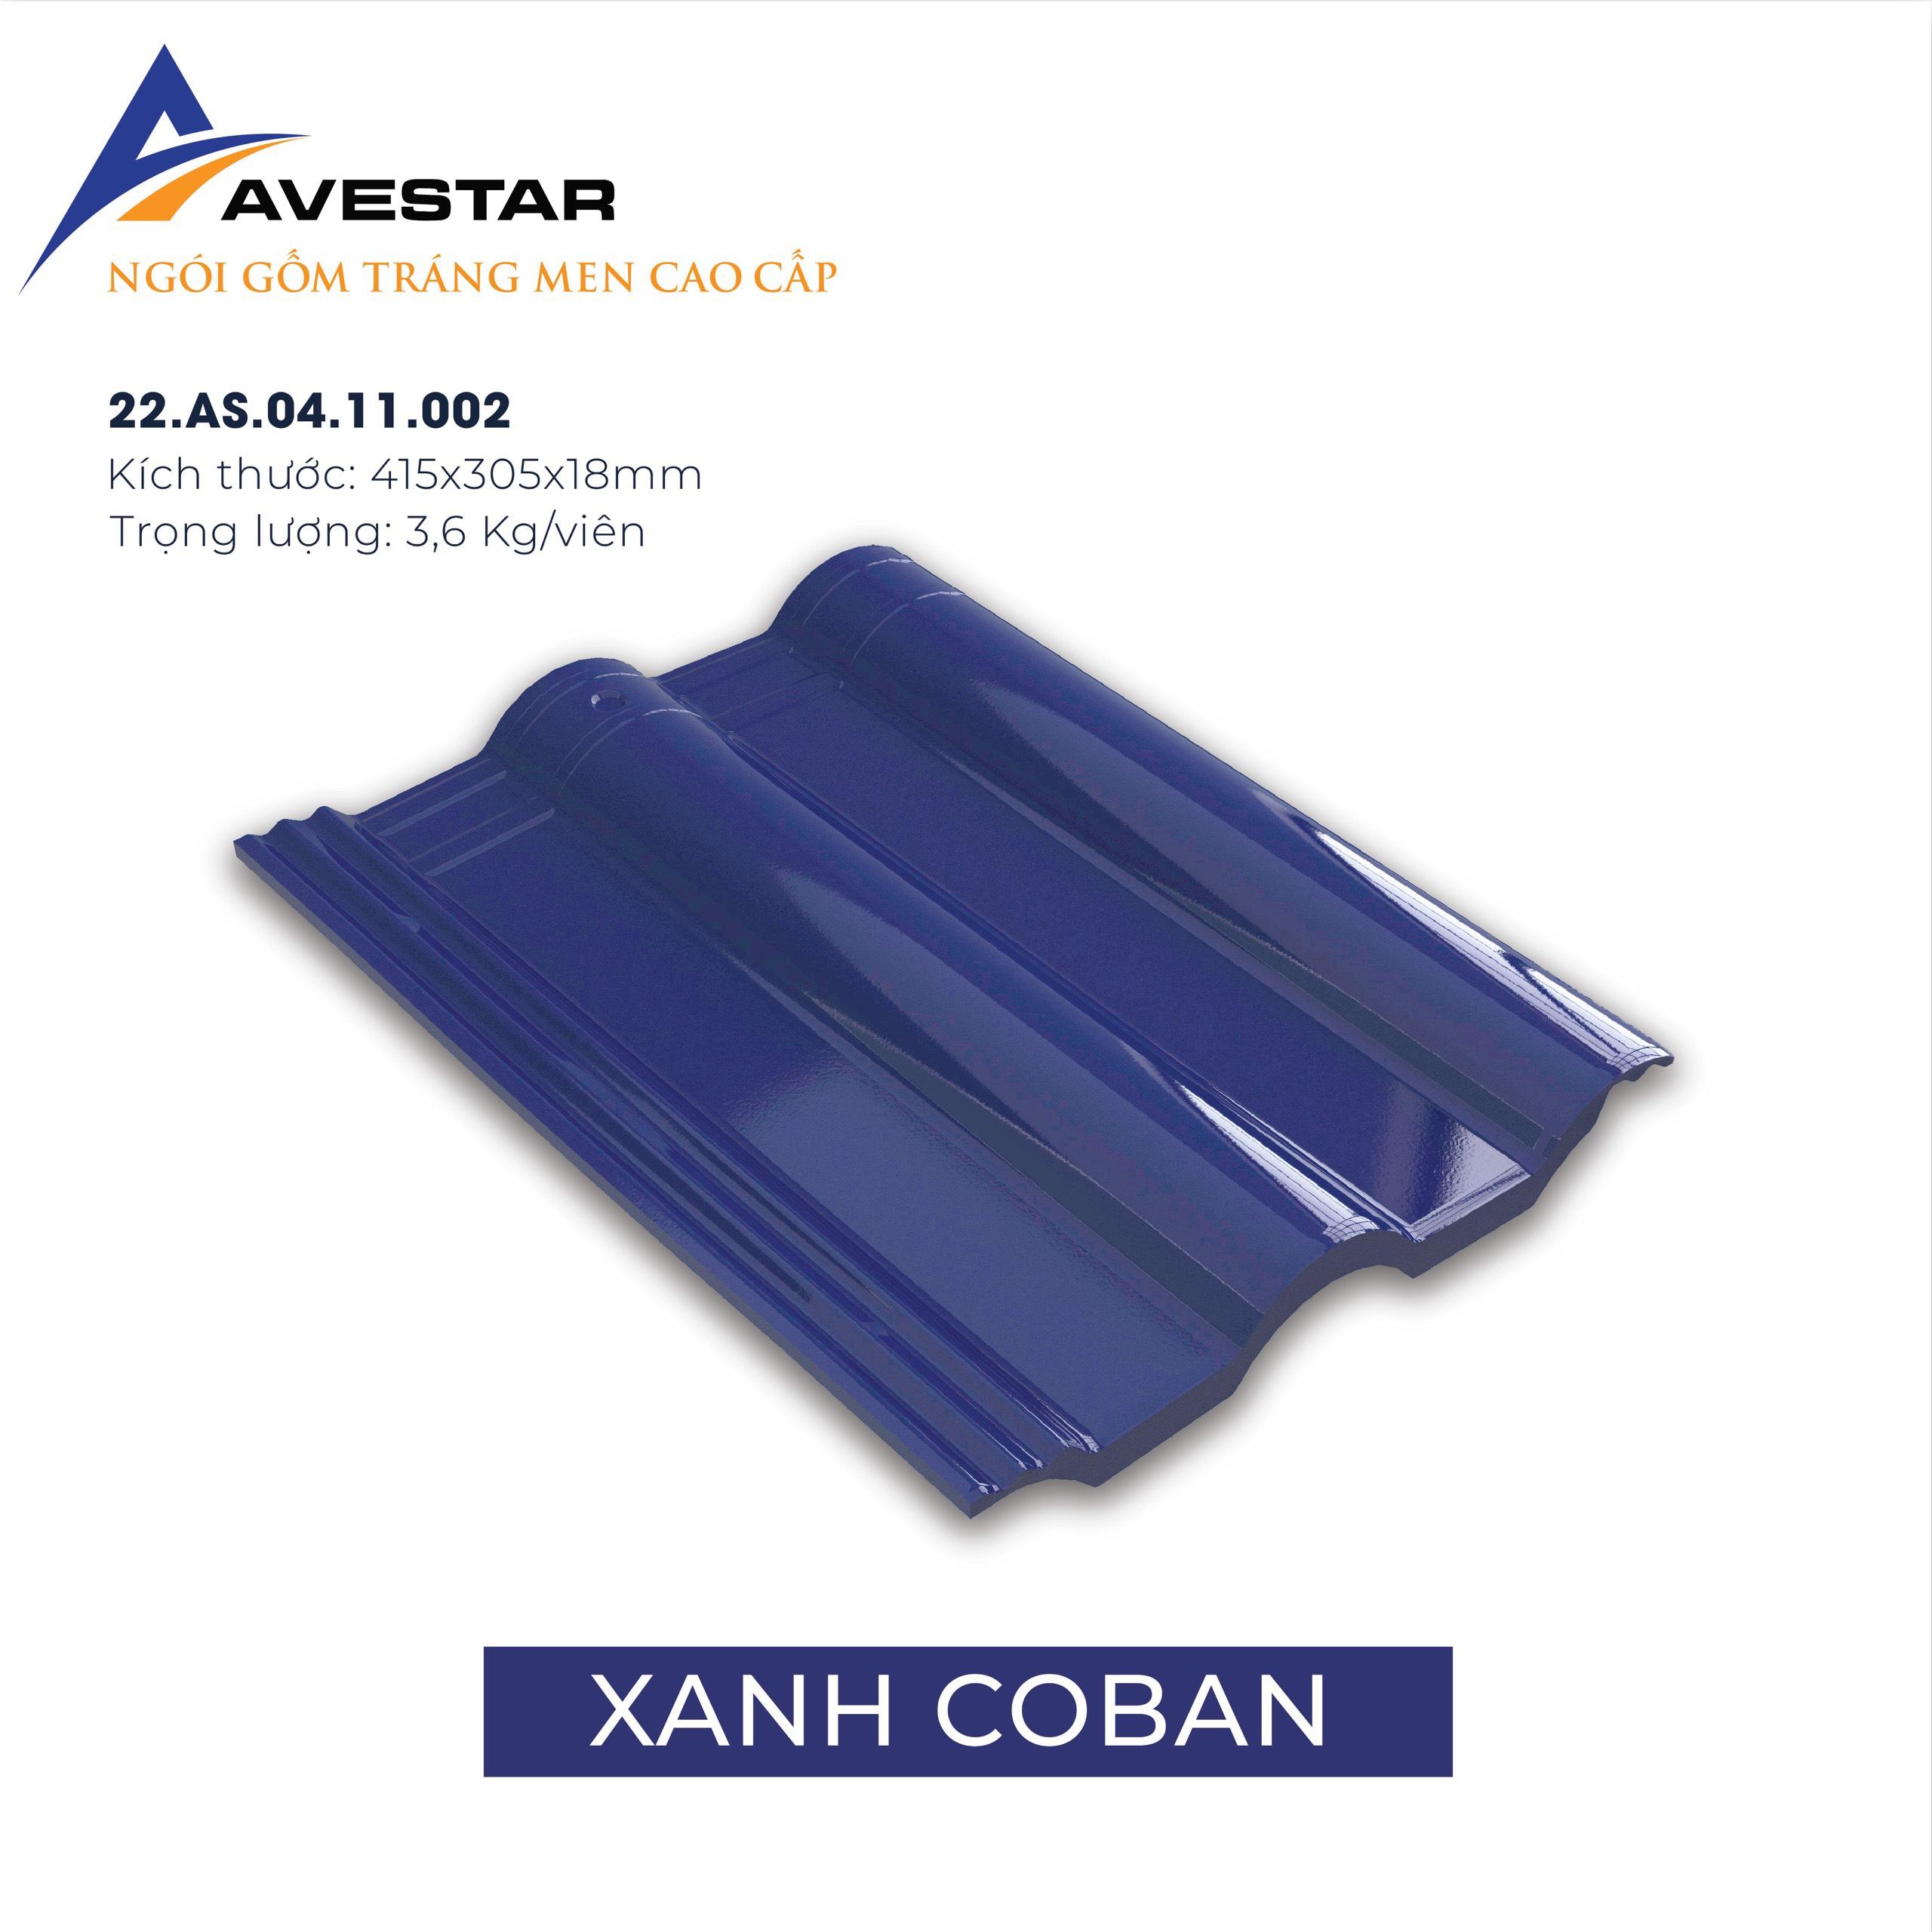
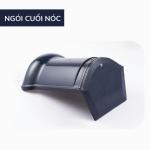

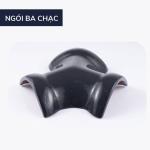


Premium Ridge End Tile
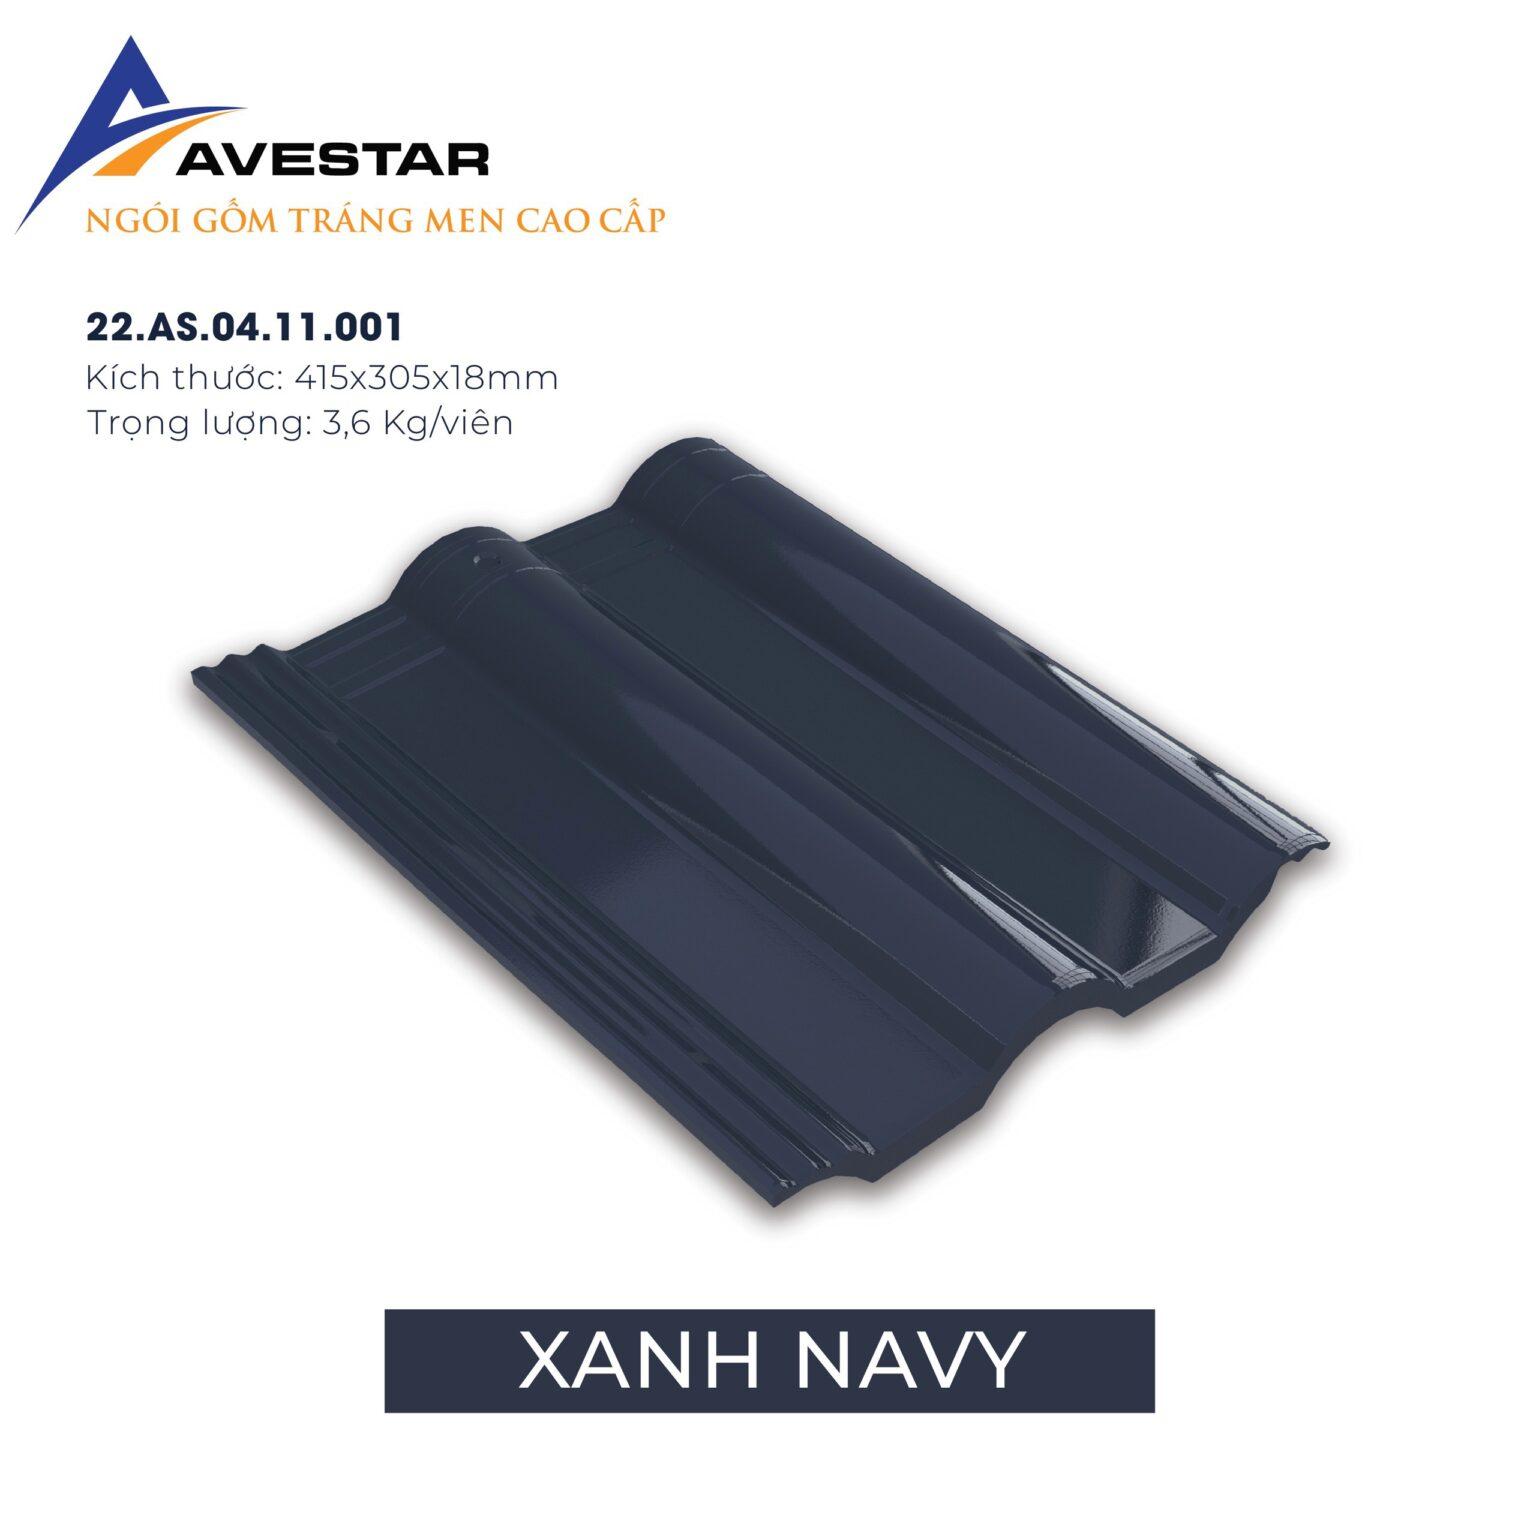
- Timeless Durability: The product is fired at high temperatures, allowing the clay body and color glaze to fuse into a unified, monolithic structure. This process creates optimal hardness and excellent impact resistance, with a guarantee of color fastness over time.
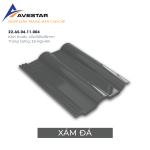
- Self-Cleaning Mechanism: The combination of a high-wave design and a smooth ceramic glaze surface allows the roof to easily wash away dust and dirt during rain. As a result, the tile surface remains shiny and completely prevents moss and mold growth.
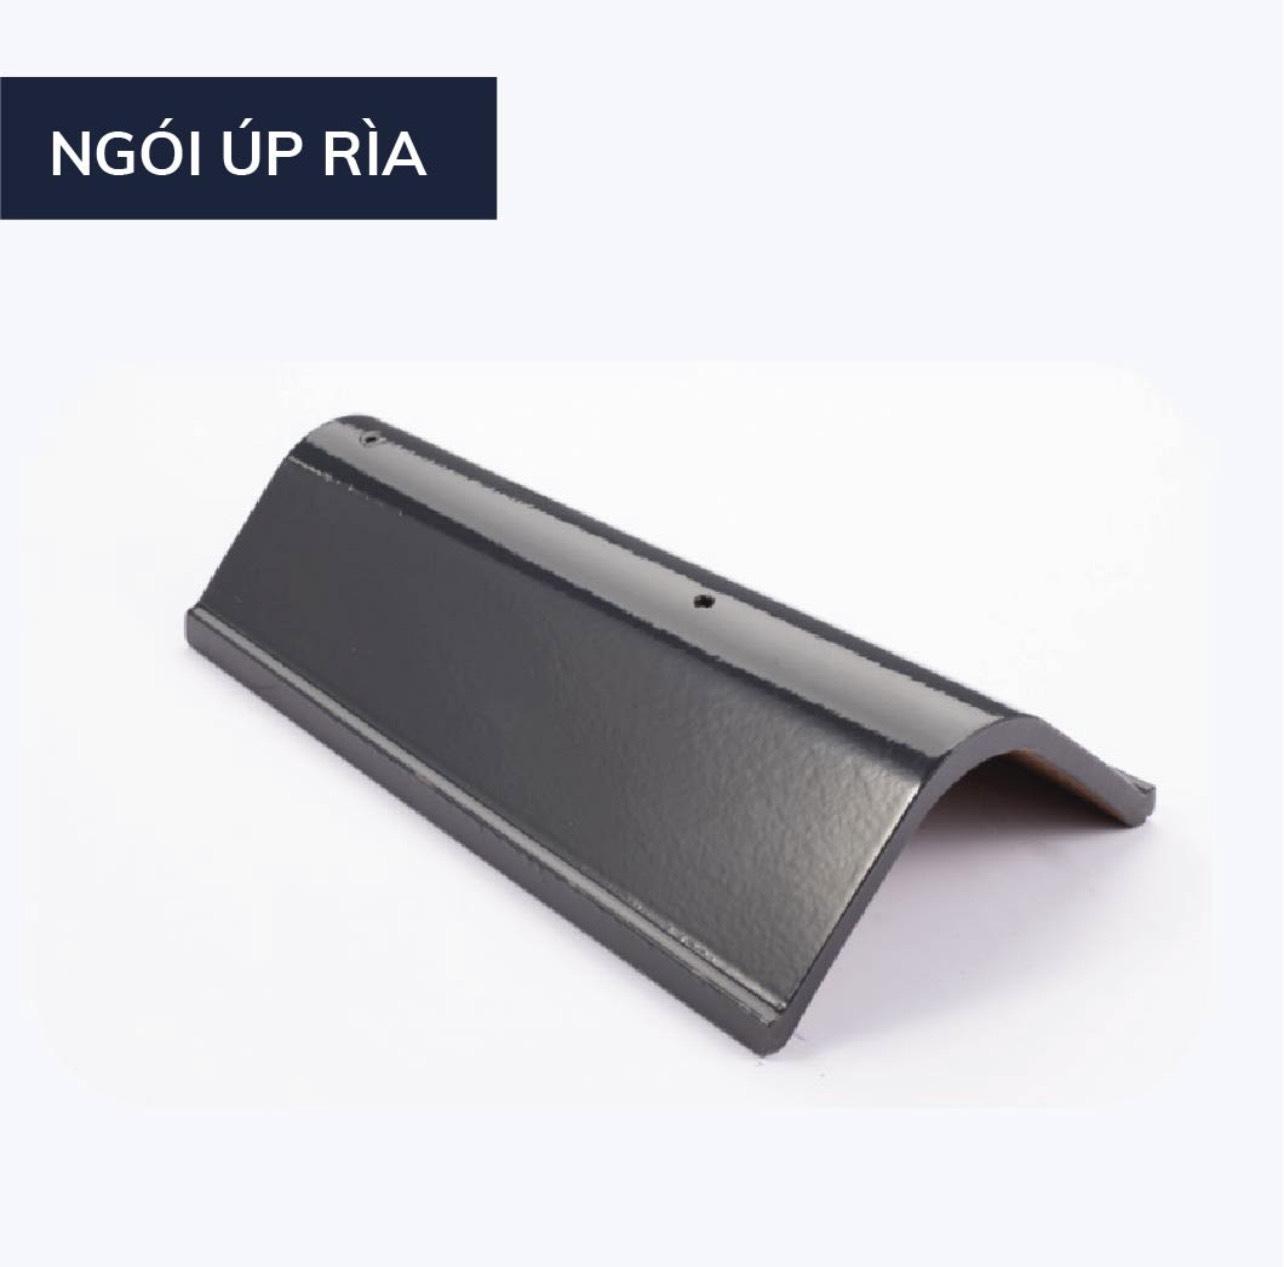
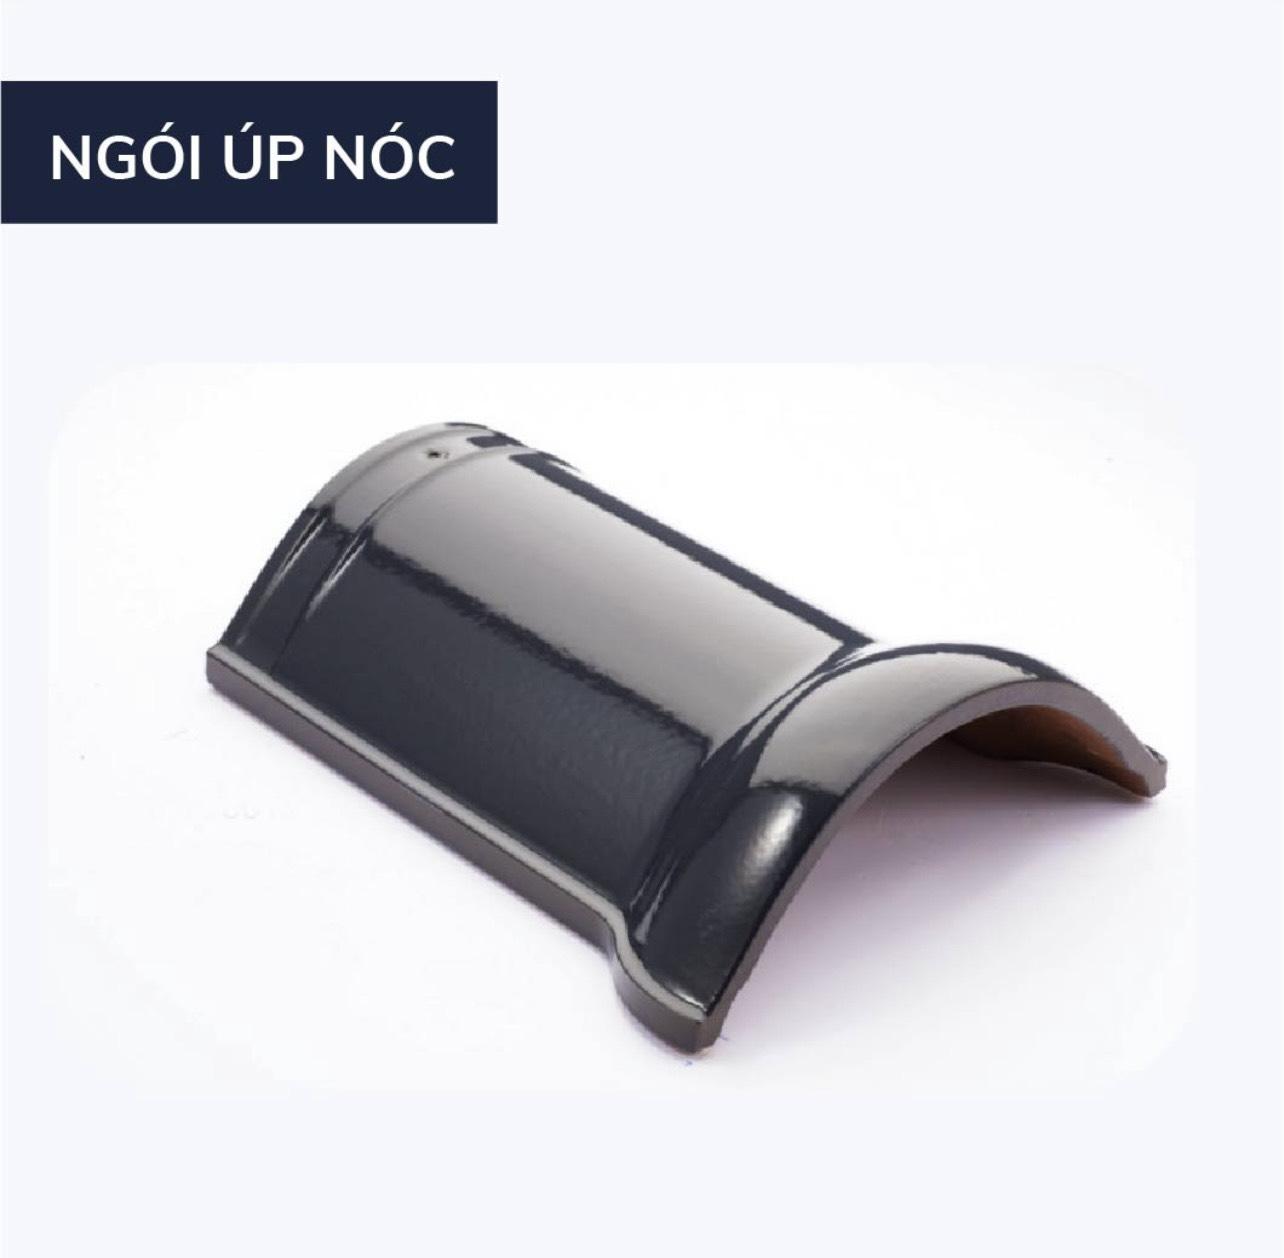
- Dual Waterproofing System: A scientifically designed system featuring double water-blocking ridges, high anti-splash ridges, and deep drainage grooves optimizes water flow. This effectively prevents water backflow, even under severe storm conditions.
- Modern Aesthetics: Our diverse color palette is researched based on international architectural trends while remaining tailored to the tropical climate. It perfectly suits a wide range of design styles, from classic to modern.
- Cost Efficiency: With a batten spacing (lath distance) of 340 – 360 mm—larger than that of traditional tiles—this product helps homeowners significantly save on installation time and roof framing material costs.
185,643₫
SKU:
KM-161-A1
Category:
Colored roof tiles
- 30 days easy returns
- Order yours before 2.30pm for same day dispatch
Guaranteed safe & secure checkout

Premium Ridge End Tile
185,643₫